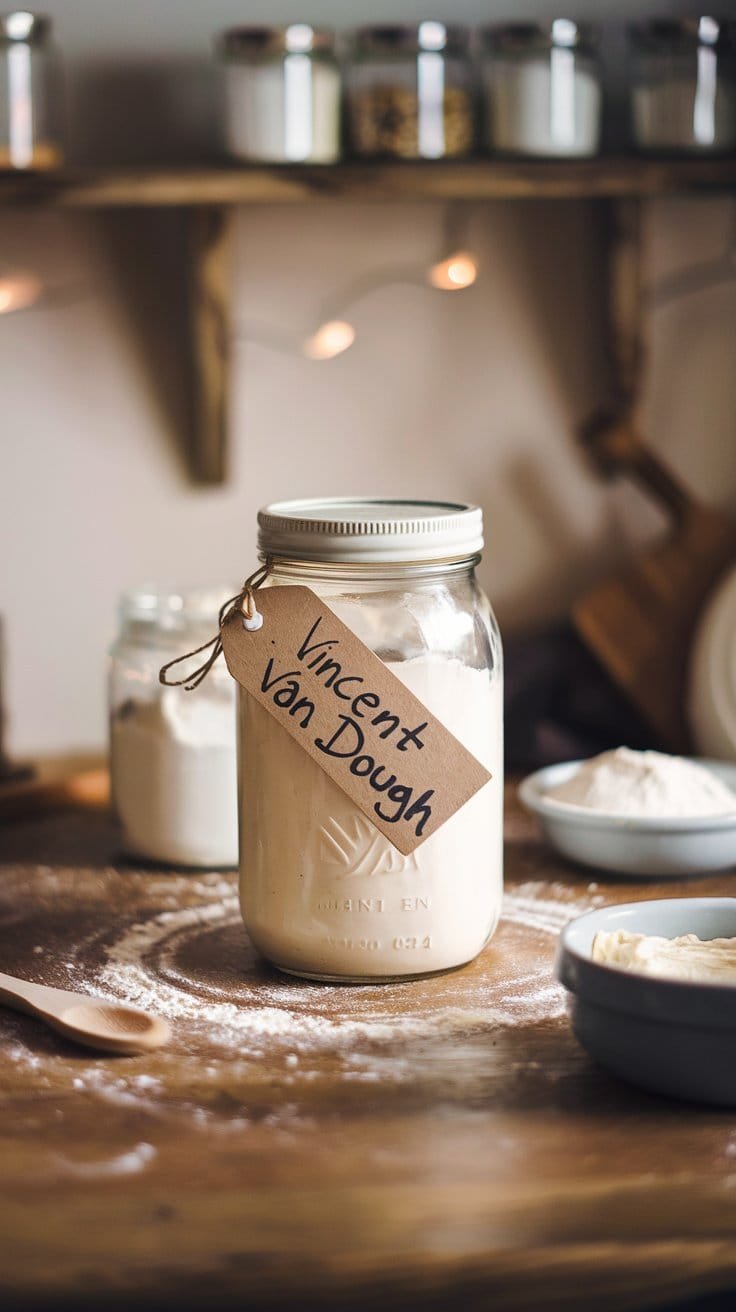
Creating a sourdough starter is the foundation of sourdough baking. It’s like growing a tiny kitchen science project that transforms simple ingredients into delicious homemade bread. With just 7 to 14 days, a little patience, and a few basic supplies, you’ll have a lively starter ready to bake with.
What You’ll Need to Get Started:
- A 750ml jar (or any container with room for growth).
- ½ cup wholemeal flour, bread flour, or all-purpose flour (wholemeal flour is best for starting due to its natural yeast content).
- ⅓ cup warm water (about 23°C or 75°F—just warm, not hot).
Maintaining the right temperature and feeding schedule ensures your starter grows strong and healthy. This guide will show you everything you need to know, from the basics of creating a starter to keeping it thriving with minimal fuss. We’ll explore the tools, feeding tips, and solutions to common problems so you can bake with confidence.

Understanding Your Sourdough Starter Basics
A sourdough starter is a living mix of wild yeast and beneficial bacteria that needs regular care to thrive. These microorganisms work together to ferment the dough, giving sourdough its signature flavor and texture. While wild yeast comes from your environment and flour, the process is surprisingly simple with the right care and attention.
Key Characteristics of a Healthy Starter:
- Doubling in Volume: A healthy starter will double in size within 4 to 8 hours of feeding (depending on temperature and feeding ratio).
- Floatation Test: A well-fed starter floats in water, indicating it’s ready to bake with.
- Aroma: It should smell pleasant—mildly sweet, tangy, or fruity.
Signs of Trouble:
- Slow or No Rise: May indicate your starter needs more frequent feeding, warmer conditions, or fresher flour.
- Doesn’t Float: Not all active starters pass the float test. Instead, rely on volume growth and bubbles as key indicators.
- Unpleasant Smell: A strong sour or off-putting smell could mean it’s underfed, overripe, or contaminated. If mold appears, discard and start fresh.
Tips for a Thriving Starter:
- Stick to a Feeding Schedule: Regular feeding keeps the yeast and bacteria in balance.
- Monitor Activity: Keep an eye on rising, bubbling, and aroma to understand your starter’s behavior.
- Use Quality Ingredients: Fresh, unbleached flour and clean water give the best results.
- Be Patient: Starters can vary—some take longer to mature depending on conditions.
Quick Reference Guide:
| Indicator | Healthy Starter | Troubled Starter |
|---|---|---|
| Doubling in Volume | Within 4 to 8 hours of feeding | Slow or no rise |
| Floatation | Floats when dropped into water | Sinks or doesn’t float |
| Aroma | Fresh, sweet, or tangy | Unpleasant, sour, or off-putting |
By using fresh ingredients, maintaining consistency, and watching for key indicators, you can keep your starter healthy and ready for baking. A strong sourdough starter is the secret to delicious homemade bread—so stick with it, and enjoy the process!
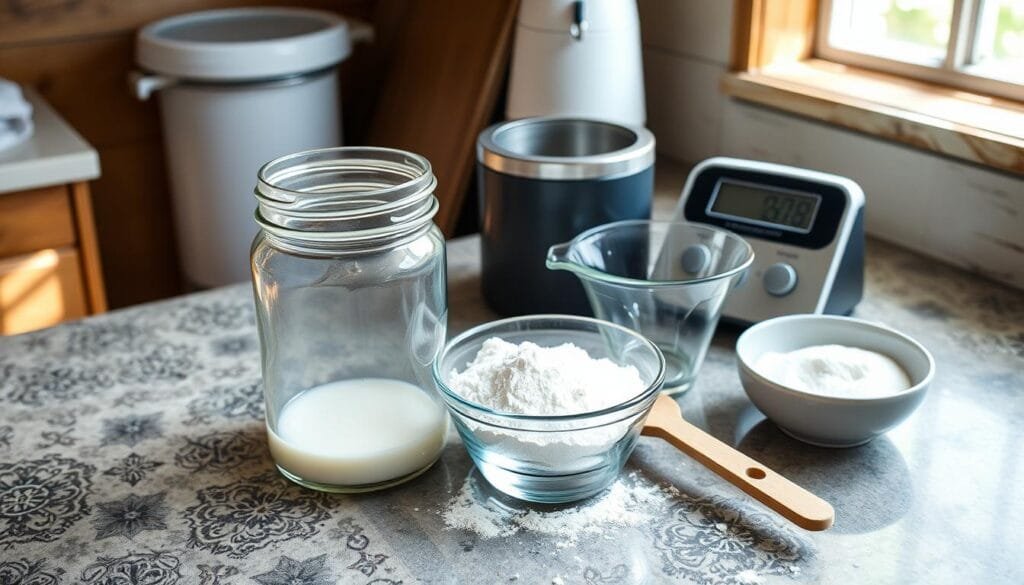
Essential Equipment for Feeding Your Starter
Keeping your sourdough starter healthy and active is easy when you have the right tools. While sourdough baking doesn’t require fancy equipment, a few essentials will make the process smoother and more consistent.
Must-Have Tools:
- Digital Scale: A must-have for accurate measurements. Measuring by weight ensures your starter has the right balance of flour and water.
- Wide-Mouth Jar: Makes feeding and stirring easier. Choose a jar with enough space for your starter to double in size.
- Spoon or Spatula: For mixing and handling your starter without introducing contaminants.
- Flour Options:
- Bread Flour or All-Purpose Flour: These are excellent for regular feeding and maintaining a balanced starter.
- Wholemeal Flour: Ideal for starting your sourdough due to its higher natural yeast content. It can also be used occasionally to give your starter a boost.
- Rye Flour: Adds depth to flavor and enhances fermentation, making it a great addition to your feeding routine.
Why These Tools Matter:
- Digital Scale: Precision is key in sourdough. A scale ensures you’re feeding your starter in the correct ratios, keeping it active and balanced.
- Jar: A wide-mouth jar allows easy access for feeding and monitoring your starter’s rise. No need to clean the jar daily—starters thrive in their own environment.
- Flour: Wholemeal flour is rich in nutrients and wild yeast, making it perfect for starting a culture. Over time, bread or all-purpose flour is typically used for maintenance, while rye flour can be alternated for enhanced activity.
Quick Equipment Reference:
| Equipment | Description |
|---|---|
| Digital Scale | Essential for accurate measurements. |
| Wide-Mouth Jar | For easy feeding, stirring, and rising. |
| Spoon/Spatula | For mixing without contamination. |
| Bread Flour | High-quality feeding flour. |
| Wholemeal Flour | Best for starting and occasional feeding. |
| Rye Flour | Optional for enhanced fermentation. |
With these tools in hand, you’re ready to keep your sourdough starter healthy and thriving. Whether you’re using a regular starter or experimenting with rye or wholemeal, the right equipment and flours will make sourdough baking easier and more enjoyable. With a little practice, you’ll soon be baking delicious bread and treats from your very own starter.

The Perfect Sourdough Starter Feeding Schedule
Maintaining a consistent feeding schedule is the key to keeping your sourdough starter healthy and active. The frequency and ratios depend on your flour type, environment, and personal baking routine. Let’s break it down into simple steps to help you succeed.
Room Temperature Feeding Routine
If you’re keeping your starter at room temperature (about 21–23°C or 70–75°F), feeding twice a day ensures steady fermentation and prevents it from becoming too acidic.
- Feed Twice Daily: 9:00 a.m. and 9:00 p.m. are good benchmarks.
- Feeding Ratio: Use a ratio of 1:5:5 (1 part starter, 5 parts water, 5 parts flour by weight).
- Example: If you have 20g of starter, add 100g each of water and flour.
- Discard to Maintain Balance: Remove most of the starter before feeding to avoid overcrowding and excessive acidity.
Refrigerated Starter Maintenance
If you bake less often, storing your starter in the fridge is a low-maintenance option:
- Feed Once a Week: Remove your starter from the fridge, let it warm to room temperature, and discard most of it.
- Feeding Ratio: Use a ratio of 1:2:2 (1 part starter, 2 parts water, 2 parts flour by weight) before refrigeration.
- Slow Fermentation: This slows activity while keeping your starter alive.
The Easy Feeding Method (Beginner-Friendly)
For those who want to keep things simple, here’s an easy, stress-free feeding method:
- One-Time Daily Feeding: Feed your starter just once a day, especially if your home is cool (under 21°C or 70°F).
- No Measuring Needed: Start with roughly 2 tablespoons of starter and mix in 2 tablespoons of water and 2 tablespoons of flour (equal parts by volume).
- When in Doubt, Add Flour: If your starter is too thin, add a bit more flour. If it’s too thick, add a splash of water.
- Minimal Discard: Keep your starter size small to reduce waste—just 2 tablespoons is enough for daily maintenance.
Quick Reference Feeding Schedule
| Condition | Frequency | Flour Ratio |
|---|---|---|
| Room Temperature | Twice a day | 1:5:5 |
| Refrigerated | Once a week | 1:2:2 |
| Easy Feeding | Once a day | Equal parts starter, water, and flour by volume |
Adjusting Your Schedule
Your starter is unique, and the schedule may need tweaking:
- Warmer Temperatures: Feed more frequently, as fermentation speeds up.
- Cooler Temperatures: Feed less often or use the easy method for simplicity.
- Taste Preference: Adjust feeding to control sourness—frequent feeding leads to a milder flavor, while less frequent feeding develops tang.
By sticking to a feeding routine that works for you, sourdough baking can stay fun and easy. Whether you choose a detailed schedule or a simpler approach, your starter will thrive with a little care and consistency.
Choosing the Right Flour for Your Sourdough Starter
The flour you choose is the foundation of your sourdough starter. Different types of flour provide varying nutrients and microbes, affecting how your starter grows and behaves. Selecting the right flour will set your starter up for success and lead to tastier sourdough bread.
Best Flours for Sourdough Starters:
- All-Purpose Flour:
- A great all-around choice, especially for beginners.
- Contains moderate protein (around 11–12%) to support gluten development.
- Example: King Arthur All-Purpose Flour with 11.7% protein is ideal.
- Bread Flour:
- Higher protein content (typically 12–14%) makes it perfect for a stronger, more elastic starter.
- Encourages better gluten development for baking robust sourdough loaves.
- Ideal for maintaining a starter and for feeding before baking.
- Rye Flour:
- Packed with nutrients, amylases, and microbes that promote fermentation.
- Has a lower gluten content but excels at creating a bubbly, active starter.
- Ideal for mixing with other flours for variety and strength.
Optional Flour: Wholemeal Flour
- Wholemeal (or whole wheat) flour is nutrient-dense and high in natural yeast, making it a great option for starting a sourdough culture.
- If desired, use it at the beginning or mix it occasionally to boost starter activity.
Quick Reference Guide to Flours:
| Flour Type | Protein Content | Characteristics |
|---|---|---|
| All-Purpose Flour | ~11–12% | Great for beginners; supports steady growth. |
| Bread Flour | ~12–14% | High protein for strong gluten development. |
| Rye Flour | Varies | Nutrient-dense; promotes strong fermentation. |
Tips for Choosing Flour:
- Start Simple: Use all-purpose or bread flour for ease and consistency.
- Experiment: Mix in rye or wholemeal flour occasionally to enhance flavor and fermentation.
- Choose High-Quality Flours: Look for unbleached flours with moderate to high protein content for the best results.
By understanding the differences between flours, you can customize your starter to suit your baking needs. With the right choice, you’ll have a strong, healthy starter ready to create delicious sourdough bread.

Proper Feeding Ratios and Measurements
Keeping your sourdough starter healthy requires the right feeding ratios and consistent care. The feeding ratio you choose affects the fermentation speed and the strength of your starter, so it’s important to pick one that works for your baking routine.
Common Feeding Ratios:
- 1:1:1 Ratio:
- Equal parts starter, flour, and water by weight.
- Results in faster fermentation, with the starter ready to use in 4–5 hours.
- Ideal for quick bakes or warm environments.
- 1:2:2 Ratio:
- 1 part starter, 2 parts flour, and 2 parts water.
- Provides balanced fermentation, ready to use in 5–6 hours.
- A good middle-ground for home bakers.
- 1:4:4 Ratio:
- 1 part starter, 4 parts flour, and 4 parts water.
- Slower fermentation, ready in 6–8 hours.
- Great for less frequent feeding schedules or a strong, stable starter.
How to Choose the Right Ratio:
- Busy Schedule? Use a 1:4:4 ratio for less frequent feeding.
- Need a Quick Starter? Use a 1:1:1 ratio in a warm environment.
- Want Balance? The 1:2:2 ratio is a versatile option for most bakers.
Example: For 50g of starter:
- 1:1:1 Ratio: Add 50g flour + 50g water.
- 1:2:2 Ratio: Add 100g flour + 100g water.
- 1:4:4 Ratio: Add 200g flour + 200g water.
Experiment with different ratios to find what works best for your starter and schedule.
Avoiding Common Sourdough Starter Mistakes
Even with a great feeding schedule, mistakes can happen. Knowing how to prevent them will help keep your starter active and healthy.
Common Mistakes and How to Fix Them:
- Overfeeding:
- Effect: Can dilute the starter, leading to slow fermentation or even harmful bacteria growth.
- Prevention: Feed in moderation—discard and feed only as much as needed.
- Underfeeding:
- Effect: A sluggish, inactive starter.
- Prevention: Stick to a regular feeding schedule and adjust based on your starter’s activity.
- Temperature Issues:
- Effect: Cold environments slow fermentation, while heat can overstimulate or kill the starter.
- Prevention: Maintain a consistent temperature (21–23°C or 70–75°F).
- Contamination:
- Effect: Unwanted bacteria or mold can spoil the starter.
- Prevention: Use clean utensils and containers, and avoid cross-contamination.
Quick Reference Guide to Mistakes:
| Mistake | Effect | Prevention |
|---|---|---|
| Overfeeding | Diluted starter, mold risk | Feed only what’s needed in moderation. |
| Underfeeding | Sluggish, inactive starter | Feed regularly based on activity level. |
| Temperature Issues | Slow or erratic fermentation | Keep at a consistent room temperature. |
| Contamination | Unwanted bacteria or mold | Use clean tools and handle with care. |
Bonus Tip: Use Starter Discards
To avoid waste, create delicious recipes with starter discards, like pancakes, crackers, or pizza dough. This keeps your starter healthy while reducing waste.
By choosing the right ratio, avoiding common mistakes, and caring for your starter, you’ll have a healthy, thriving culture ready to bake delicious sourdough bread.
Reviving a Neglected Starter
Reviving a sourdough starter that’s been neglected can be tough. But, with the right steps, you can get it back to life. First, check how your starter looks. If you see mold, it’s best to throw it away and start over. But, if it just looks sleepy, you can try to wake it up with a new sourdough starter recipe using your old starter.
To wake up your starter, remove any moldy parts and put a few tablespoons of the good starter in a clean jar. Then, feed it with equal parts flour and water. You can also freeze or dry your starter to keep it alive for longer. Here are some tips to remember:
- Feed your revived starter every 24 hours for 4-5 days before putting it in the fridge for weekly or bi-weekly feedings.
- Keep your starter alive by feeding it regularly, based on how often you bake.
- Get rid of any starters with mold or bad smells before trying to revive them.
Remember, reviving a neglected starter needs time and patience. It might take 24 hours or more to start showing signs of life. And, it might need several feedings to get fully active again. But, with the right care, you can revive your starter and enjoy making delicious sourdough starter recipe treats.

| Starter Condition | Revival Approach |
|---|---|
| Dormant | Feed with equal parts flour and water |
| Moldy | Discard and start fresh |
Creative Ways to Use Sourdough Discard
Keeping a sourdough starter means you’ll regularly have discard. But don’t throw it away—discard is a versatile ingredient that can be used to create delicious recipes, reduce waste, and add a unique tangy flavor to your cooking. Whether you’re making pancakes, crackers, or muffins, the possibilities are endless.
Delicious Ideas for Sourdough Discard:
- Pancakes and Waffles
Turn discard into fluffy pancakes or crispy waffles. Mix it with flour, eggs, and sugar, then cook on a griddle or waffle iron. The acidity in the discard creates a light and airy texture. - Crackers and Flatbreads
Make homemade crackers or flatbreads by combining discard with flour, water, and salt. Roll it into a thin sheet and bake until crispy. Perfect for snacks or pairing with dips. - Quick Breads and Muffins
Add sourdough discard to your favorite quick bread or muffin recipes. The result is moist, flavorful baked goods that your family will love. - Sourdough Pizza Crust or Focaccia
Use discard to create a tangy pizza crust or soft focaccia bread. The fermentation adds depth of flavor to these savory dishes. - Unique Treats
Experiment with sourdough discard in dumplings, pretzels, tempura batter, breakfast rolls, or scones. The fun lies in trying new combinations of flavors and textures.
Pro Tips:
- Use Fresh Discard: Discard should have a mild, tangy aroma and no mold or discoloration.
- Store for Later: Keep discard in the fridge for up to a week or freeze it for longer storage.
- Get Creative: Try adding herbs, spices, or cheese to recipes for a personalized touch.
Recipe Inspiration:
For step-by-step instructions and ideas, check out 5 Easy Sourdough Discard Recipes. You’ll find detailed guides for pancakes, muffins, crackers, and more.
Quick Reference Recipes:
| Recipe | Ingredients | Instructions |
|---|---|---|
| Pancakes | 1 cup sourdough discard, 1 cup flour, 2 eggs, ½ cup sugar | Mix ingredients, cook on a griddle. |
| Crackers | 1 cup sourdough discard, 1 cup flour, ½ cup water, salt | Mix ingredients, roll thin, bake until crispy. |
| Quick Bread | 1 cup sourdough discard, 1 cup flour, ½ cup sugar, 2 eggs | Mix ingredients, bake at 350°F until golden. |
Using sourdough discard is a fun way to explore new recipes while making the most of your starter. From breakfast to snacks, the possibilities are endless—try these ideas and start creating your own sourdough-inspired dishes today!

Traveling with Your Sourdough Starter
Traveling doesn’t mean you have to leave your sourdough starter behind. With the right steps, you can keep it healthy and active wherever you go. A little preparation goes a long way in ensuring your starter travels safely.
Tips for Traveling with Your Starter:
- Refrigerate Before Departure:
- Feed your starter the day before your trip, then store it in the fridge. Cold temperatures slow fermentation, making it low-maintenance while you travel.
- Freeze for Long Trips:
- If you’ll be away for an extended period, freeze a spoonful or two of your starter in an airtight container. Frozen starter can stay viable for several months.
- Dehydrate for Mess-Free Travel:
- Spread a thin layer of starter on parchment paper and let it dry completely. Break it into flakes and store in an airtight bag or jar. Dehydrated starter is easy to reactivate at your destination.
- Consider a Sourdough Starter Hotel:
- Some bakeries or specialty facilities, like Stockholm Airport’s sourdough starter hotel, if you happen to be in Sweden, offer starter-sitting services for a small fee. A unique option if you’re traveling internationally.
Nurturing Your Sourdough Journey
Keeping a sourdough starter alive is more than a task—it’s a journey filled with creativity and rewards. While it requires patience and care, the payoff is the satisfaction of baking delicious, tangy bread from scratch.
Key Points to Remember:
- Feed Regularly: Consistent feeding keeps your starter healthy and active.
- Control Temperature: Maintain a stable environment for fermentation.
- Experiment with Flours: Try new flours to enhance flavor and activity.
Sourdough baking is a mix of science and art, and every loaf tells a story. Celebrate your successes, learn from the challenges, and most importantly, enjoy the process. Looking after your sourdough starter is a labor of love, bringing joy and nourishment to your kitchen.
So, pack your starter for your next adventure, try new recipes, and savor the journey of sourdough baking!